In the heat of the Georgia summer, you can find Michael Waddell outside honing his craft with his custom bow and arrow setup. (And when he’s not practicing, he’s busy perfecting his range with his Exmark Lazer Z.) But before you start daydreaming of filling all your tags, you have to make sure your equipment’s up to task. Follow along in this Backyard Life article as the Bone Collector dishes out insight on the arrow setup he uses. So you can have the hunting season of your dreams—and a few tournament victories under your belt, to boot.
Getting Started With Arrow Setup
Before delving into his arrow setup, Waddell acknowledges that there are a million and one opinions on the topic. In his personal opinion, it all depends on what you’re shooting and how far away your target is. So, he’s tried to find an arrow that works from turkey to moose, and every creature in-between. And once he finds an arrow formula that works, he says he’ll ride it out until all his tags are filled.
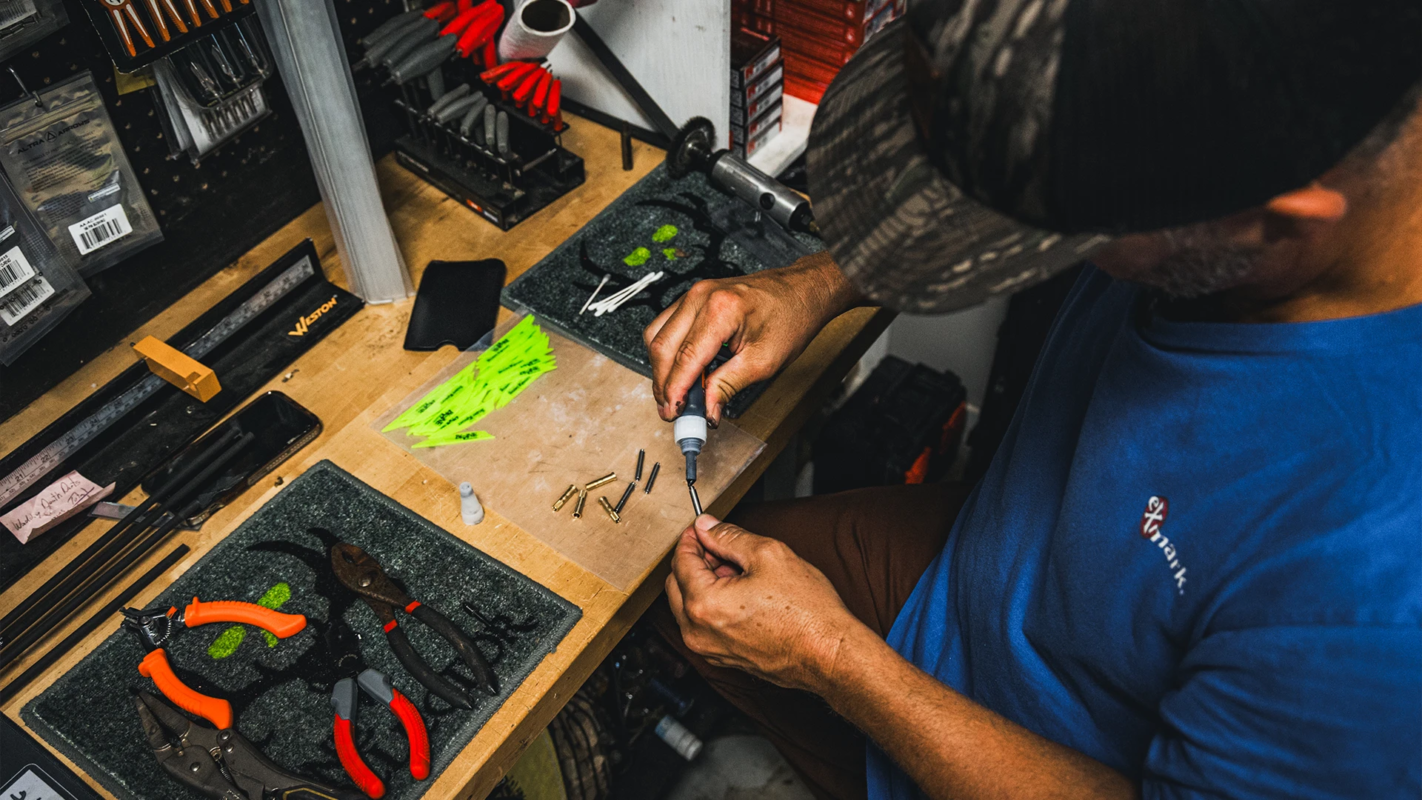
But when it comes to cultivating that opinion, it’s all about firsthand experience, trial and error, and lots (and lots) of questions. Waddell likes to build his own arrows, which means he can mix and match until he finds just the formula that works. To get to that point, he’s asked dozens of successful bow hunters who really know how to fill their tags. Or, he’s set out to his local pro store with a pen and paper and asked the expert behind the counter questions until he’s just about blue in the face.
Arrow Setup Components
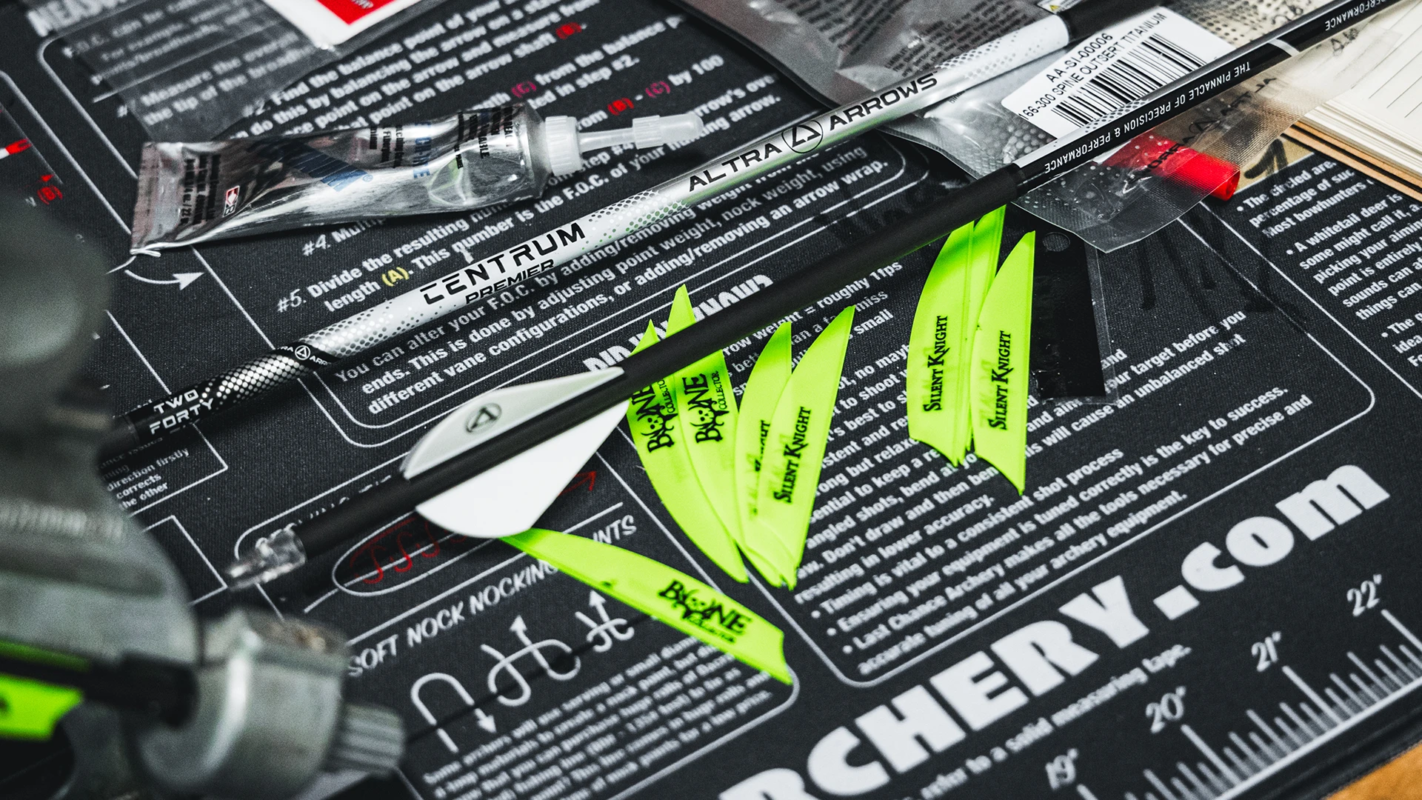
In an arrow, there are so many different, small components that have to work together to produce your desired result. Namely, the diameter, spine, and grains per inch. And that doesn’t even include the fletching and different types of arrowheads to choose from. More times than not, it all starts with the spine. (Or, in layman’s terms, how the arrow is made up and how it absorbs energy.) Once the compound bow drops and the string fires off the arrow there’s a whole lot of energy being forced on it. And depending on the head and the weight of the arrow, there are even more factors to be aware of. So your arrows really have to be up to the task.
Arrow Spines 101
Any time you get into the technicals of arrows and archery, it can become a tad overwhelming. Waddell admits he isn’t an arrow know-it-all, but he knows just enough “to be dangerous.” Simply put, the spine is the stiffness of the arrow. There’s a complex formula that goes into making a spine, but a 340 spine is stiffer than a 400 spine, a 400 spine is stiffer than a 500 spine, and so on. (For those arrow aficionados out there, Waddell’s arrow is just shy of 500 grains and is running a 340 spine.)
Ultimately, Waddell says you don’t want your arrows to be over- or under-spined. Thankfully, there are a number of charts online to help. This’ll give you the weight of your bow, your draw weight, and the draw distance. All correlating with a specific spine and stiffness. And, you can always reach out to a pro shop to help lay this all out in simple terms. Ensuring you get the peak performance out of your arrows, come hunting season.
All About Arrowheads
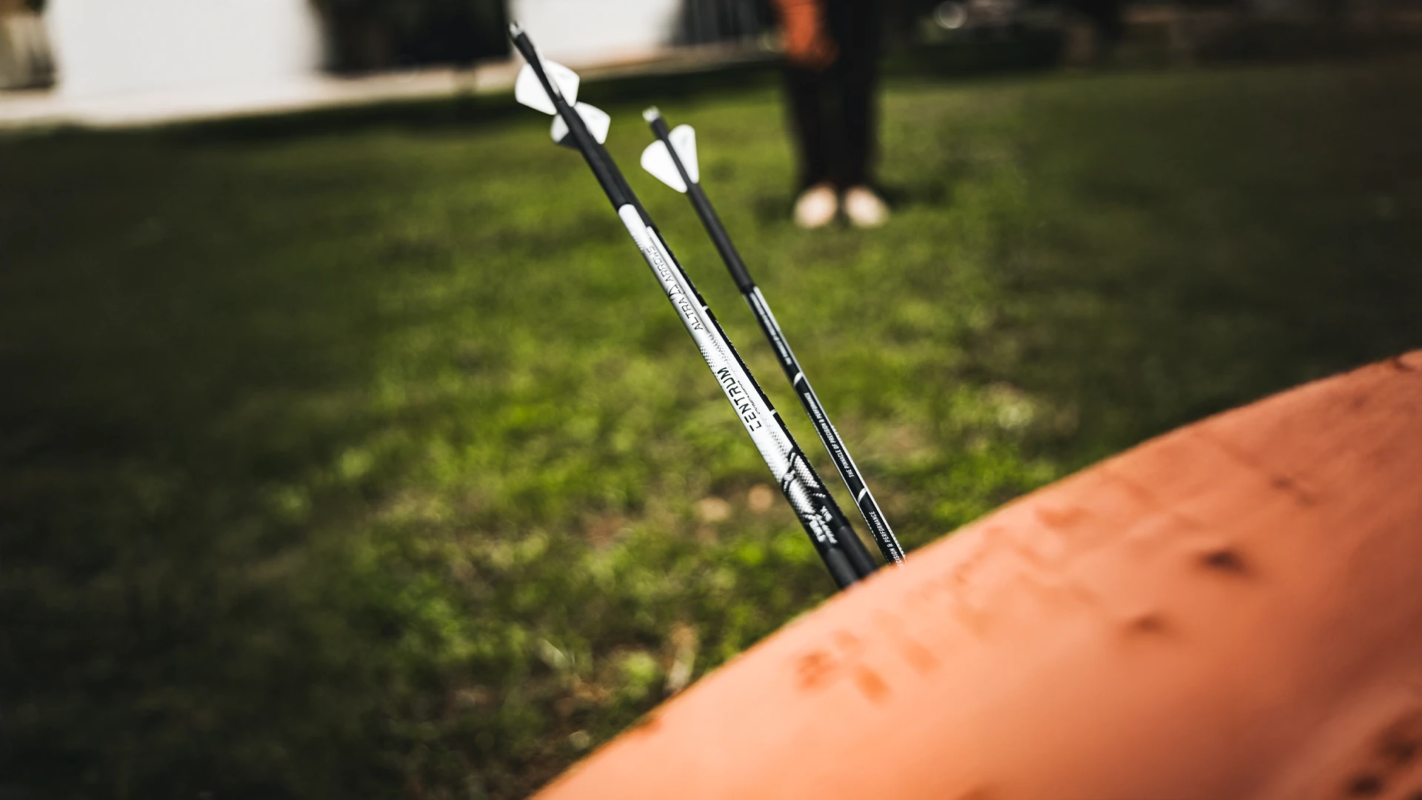
For anyone beginning with archery, Waddell highly recommends understanding how different the different types of arrowheads shoot. Sometimes a fixed-blade broadhead might not shoot just like a basic field-tip, which can make all the difference in the field. When it comes to practice, he says that field-tips are your best bet. This is because you’re not cutting the fletch off on the targets (or at least until you get really proficient with your bow).
For broadheads, the options (and opinions) are just about endless. Waddell has found resounding success with mechanical broadheads—specifically the MegaMeat broadhead. He’s tagged just about every species under the sun with it.
Conversely, Waddell says that fixed-blade heads are another great choice. But you need to remember with a fixed-blade broadhead, your arrow’ll be at the will of the wind a little more. And sometimes, they can fly just a little differently from mechanical broadheads (which tend to stay more true in flight, like field-tipped arrows). So there’s some practice that’s needed before doing the real thing.
Practice Makes Perfect
To make sure that his arrow setup is perfectly dialed in, Waddell occasionally heads out and shoots about 10 to 20 times a session. As the season closes in, he gradually ramps up this number. For even better results, he tends to start further out from his targets and works his way in to help prevent fatigue.
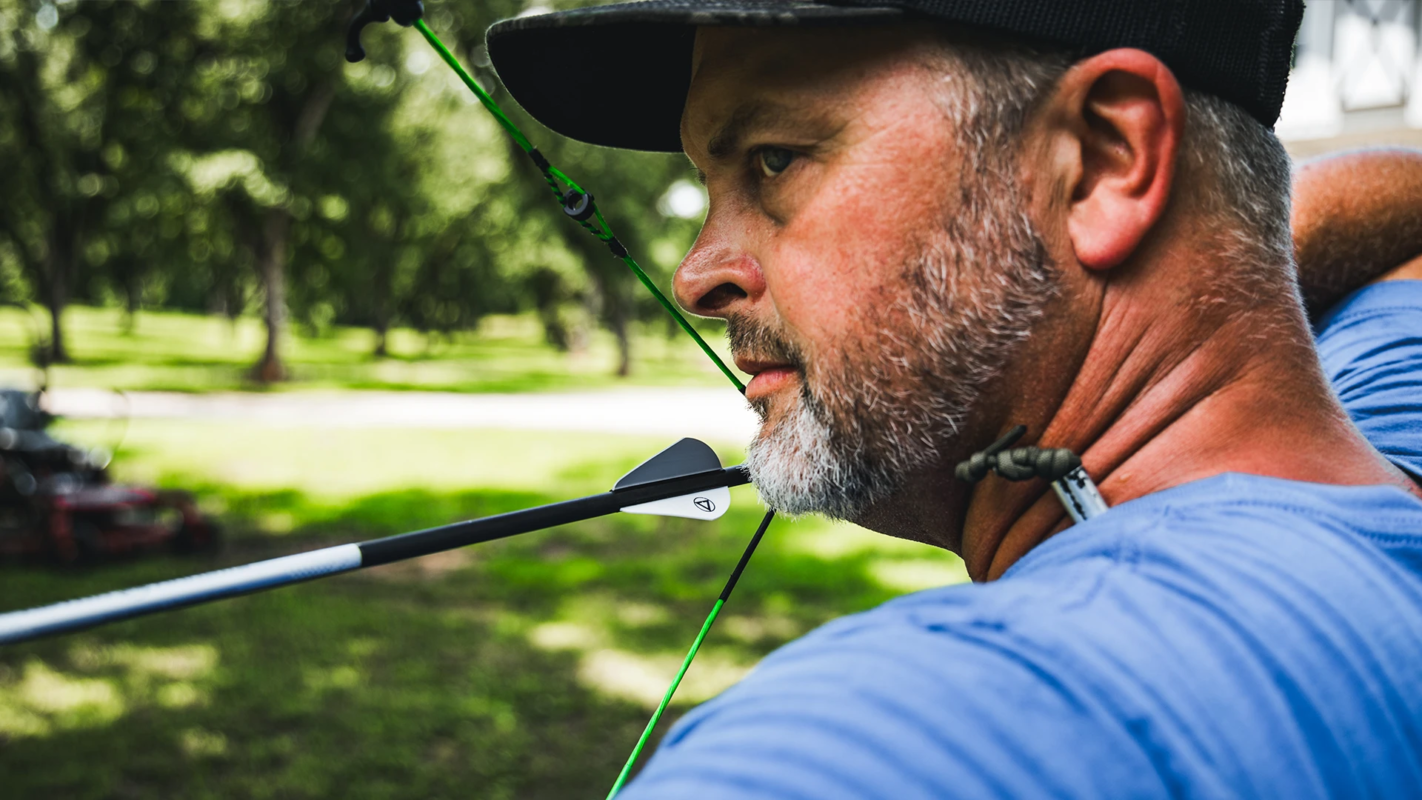
With this, he says, you build muscle memory, a positive mindset, and (most importantly) a great relationship with your gear. At the end of the day, there’s nothing worse than having the perfect setup and still having that big elk or buck get away. And, buck fever can bog down even the most experienced hunters. So it’s best to know your gear inside and out, as well as iron out any last wrinkles, before heading out on that first crisp, fall morning.
To Build or Buy?
When it comes to building arrows, Waddell approaches them as a work of art. He likes purchasing the different components and putting them together himself. And then, once he finds the arrows he likes, he starts to buy them in bulk. It’s not necessarily the most cost-efficient, but it gives you a sense of pride and a great relationship with each arrow.
But if that’s not your style, he again reiterates that asking questions is key. There are plenty of successful bow hunters who know how to fill their tags, but don’t know much about the technical aspects of bows. Ultimately, you don’t really need to. As long as you find something that you like, ask for opinions, and find success, that’s all that matters.
\
